

Do you want to know how to integrate a chatbot in a website?
You have come into the right place!
Adding a chatbot to your website is a smart way to help your visitors get answers fast. It’s not just about making your site look cool – it actually improves the way people interact with your website.
This guide will show you how to integrate a chatbot in a website step-by-step, help you choose the best method for your needs, and explain why it’s so important.
By the end, you’ll know exactly how to integrate a chatbot in a website and why a chatbot can be a game-changer for your website. Let’s get started!
For more info about what is a chatbot, check out the differences between AI Agent vs Chatbot vs Virtual Assistant.
Table of Contents
Key Takeaways
- Adding a chatbot to your website improves user interaction and provides quick answers to visitors.
- The main methods to integrate a chatbot in a website are embedded widgets, chatbot plugins for CMS, custom API integration, live chat integration, and third-party integration tools.
- Choosing the best integration method depends on factors like website needs, team skills, budget, future growth plans, and compatibility.
- Chatbots offer benefits such as 24/7 availability, personalized interactions, data collection, reduced team workload, and improved customer satisfaction.
- Building a chatbot involves choosing a platform, designing conversation flow, customizing appearance, testing, and launching.

Different Ways to Add a Chatbot to Your Website
Now, how to integrate a chatbot in a website. When it comes to adding a chatbot to your website, there are a few ways to do it. Let’s go through each one, so you can decide which is best for you.
Embedded Widgets
Embedded widgets are an easy way to add a chatbot to your site. These are small chat windows that usually pop up in the corner of your page.
How to Do It:
- Pick a Platform: Choose a chatbot service like Tidio or Intercom.
- Get the Code: The platform will give you a code snippet after you set up your chatbot.
- Add to Your Site: Paste the code into your website’s HTML, usually before the
</body>tag. - Customize: Adjust the widget’s look to match your site’s design.
Best For: Quick support and answering FAQs.
Chatbot Plugins for CMS
If your website runs on platforms like WordPress or Shopify, using a chatbot plugin can be the easiest option. I personally use WordPress for this website and I have no complains.
How to Do It:
- Install a Plugin: Look for a plugin like WP-Chatbot for WordPress.
- Activate It: Turn on the plugin from your website’s dashboard.
- Set It Up: Follow the setup steps to customize your chatbot.
- Test It: Make sure the chatbot works properly before going live.
Best For: Websites built on popular platforms like WordPress.
Custom API Integration
For more control, you can use a custom API integration. This method lets you connect a chatbot to your website with custom features.
How to Do It:
- Choose a Platform: Pick a platform like Dialogflow or ChatGPT that offers API access.
- Get API Keys: Sign up and get your API keys.
- Code the Connection: Use the API documentation to write code that links your site to the chatbot.
- Deploy It: Once everything is set up, add the chatbot to your website.
Best For: Sites that need a highly customized chatbot experience.

Live Chat Integration
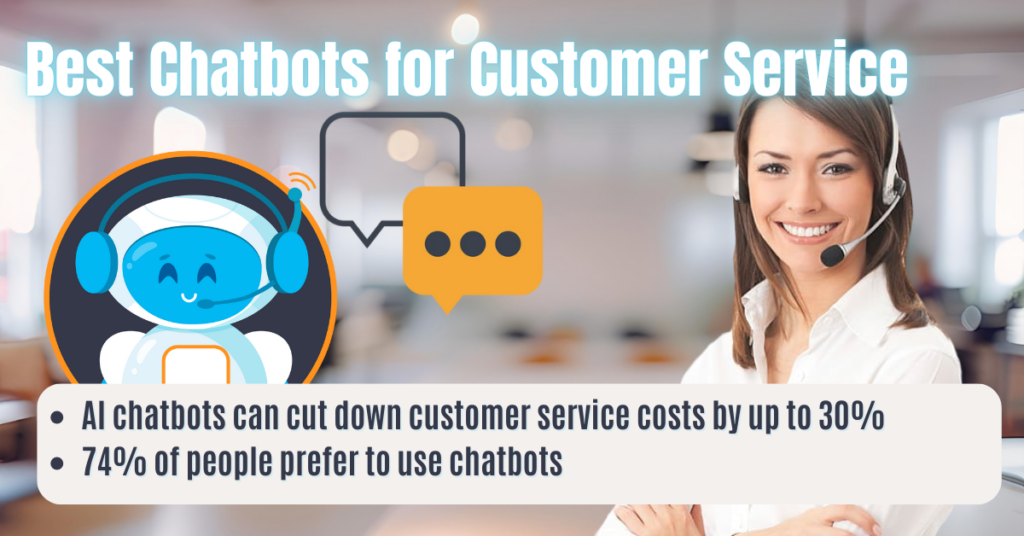
Live chat integration combines a chatbot with customer support. The chatbot handles simple questions, while live agents take care of more complex ones.
For info check out 12 Best Chatbots For Customer Service Can Boost Productivity By 30%
How to Do It:
- Pick a Service: Use a service like Zendesk.
- Set Up the Bot: Configure the chatbot to answer basic queries.
- Enable Hand-Offs: Set rules for when the bot should transfer a chat to a human.
- Test the Transition: Make sure the switch between bot and human works smoothly.
Best For: Businesses that want a mix of automated and human support.
Third-Party Integration Tools
For those who prefer not to code, third-party integration platforms like Zapier can help.
How to Do It:
- Sign Up for Zapier: Create an account.
- Pick Your Tools: Connect the chatbot service with your website.
- Set Up Automations: Create workflows that link your chatbot to your website.
- Activate It: Turn on the automation.
Best For: Non-developers who need a no-code solution.
How to Choose the Best Integration Method
Now that you know the different ways to integrate a chatbot, how do you pick the best one? Here’s how.
What Does Your Website Need?
Think about what you want your chatbot to do.
- High Traffic: If your site gets a lot of visitors, choose a method that can handle many users at once, like custom API integration.
- Simple Tasks: If you only need to answer basic questions, an embedded widget might be enough.
Your Team’s Skills
Consider how comfortable your team is with technical tasks.
- Tech-Savvy: If you have developers, go for custom API integration for more control.
- No Coders?: Stick with plugins or third-party tools if you don’t have coding skills on your team.
Budget and Time
Consider how much you’re willing to spend and how quickly you need the chatbot.
- Limited Budget: Plugins and third-party tools are usually cheaper and quicker to set up.
- Bigger Budget: Custom API integration may cost more but offers the most flexibility.
Future Needs
Think about how your business might grow.
- Planning to Grow?: Start with a plugin, but consider switching to a custom API later.
- Need More Features?: Choose a method that allows easy updates.
Compatibility
Make sure the integration method works with your current website setup.
- Using WordPress or Shopify? Plugins are the easiest way to go.
- Need Something Custom? APIs might be better for more complex needs.
Why You Should Add a Chatbot to Your Website
Now that you know how to add a chatbot, let’s talk about why you should.
Quick Response Time
Chatbots are always ready to help your visitors, day or night. This makes your website more user-friendly, as people can get answers immediately.
Better User Experience
Visitors love quick and easy answers. A chatbot can guide them to the right information without making them wait, improving their overall experience on your site.
More Leads and Sales
Chatbots can ask questions and guide visitors toward making a purchase or signing up, helping you get more leads and sales.
Cost-Effective Support
A chatbot can answer common questions, reducing the need for a large customer support team. This can save you money in the long run.
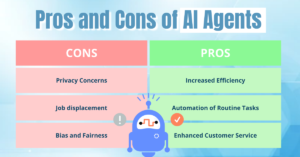
If you want to learn more, check out the Pros and Cons of AI Agents and How Will They Impact Your Life.
Benefits of Using a Chatbot
Adding a chatbot to your website comes with many benefits. Here’s why it’s worth it.
Available 24/7
A chatbot can help visitors anytime, even when your team isn’t around. This ensures that people always have access to the information they need.
Personalized Interactions
Modern chatbots can tailor their responses based on what visitors do on your site, making the interaction more personal and relevant.
Easier Data Collection
Chatbots can ask questions and gather information from your visitors, helping you learn more about your audience.
Reduced Workload for Your Team
With a chatbot handling simple queries, your team can focus on more complex tasks, making everyone more efficient.
Improved Customer Satisfaction
By offering quick answers and guiding visitors, chatbots can increase overall customer satisfaction with your website.
How to Build a Chatbot
Ready to build your own chatbot? Here’s a quick overview.
- Choose a Platform: Start with a user-friendly platform like Tidio or ChatGPT.
- Design the Conversation Flow: Map out the types of questions your chatbot will handle.
- Customize the Look: Make sure your chatbot matches your website’s design.
- Test It: Run tests to make sure everything works smoothly.
- Launch: Once everything is ready, launch your chatbot on your website.
For a more detailed guide on building a chatbot, check out these tools to build chatbots:
FAQs – How To Integrate a Chatbot In a Website
1. What’s the best way to integrate a chatbot if I don’t know how to code?
Using a plugin or a third-party integration tool like Zapier is the best choice if you don’t have coding skills.
2. How long does it take to add a chatbot to a website?
It depends on the method. Plugins and embedded widgets can be set up in minutes, while custom API integration might take longer.
3. Do I need a developer to add a chatbot to my site?
Not necessarily. Plugins and third-party tools don’t require coding skills. However, for custom API integration, you might need a developer.
4. Can I customize my chatbot?
Yes, most platforms let you customize the look and feel of your chatbot, as well as the conversation flow.
5. What if my website has high traffic?
If your site gets a lot of visitors, consider a custom API integration or live chat services, as they can handle more interactions.
6. Is a chatbot expensive to maintain?
Most chatbots are cost-effective. Basic versions are often affordable, and you can scale up as needed.
Conclusion – How To Integrate a Chatbot In a Website
With this guide, you should feel confident about how to integrate a chatbot in a website .
Remember, choosing the right method depends on your specific needs and resources. Whether you opt for a simple plugin or a custom API integration, adding a chatbot can make a big difference in how your visitors interact with your site.
If you need a custom Chatbot for your business, feel free to contact me through my LinkedIn account to check how I can help you.